How to shoot street style: Our foolproof guide to becoming a pro in 6 steps!
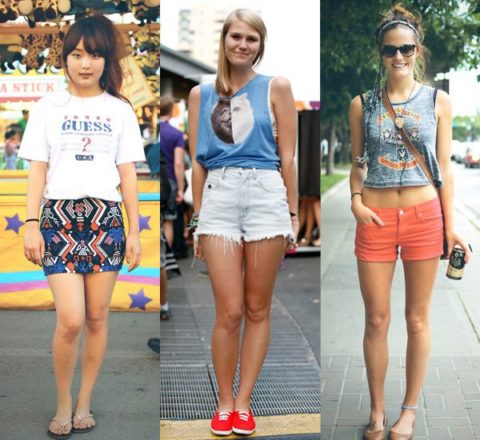

If the careers of The Sartorialist or Tommy Ton are anything to go off of, it’s safe to say that street style photography has proven it’s an art form to be reckoned with. While we might not all have the wherewithal to follow in the steps of Garance Doré or Hanneli Mustaparta, knowing how to take a good street style picture is still an invaluable skill to have in your repertoire. It’s a talent that not only comes in handy for style shots but also for capturing other moments in life, from a close-up of a rose to a portrait of loved ones.
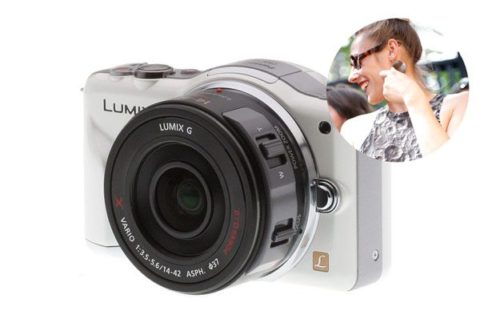
Our model of choice is the stylish and compact Panasonic LUMIX GF3X (its new iA mode features face recognition and motion detection, among other things), but for the most part, even the most basic digital cameras have a manual function that gives you more control over different tools. Whether you want to break into the street style blogging world or simply hope to fine-tune your photography skills, we have some basic tips to get you snapping like a pro in no time!
Check out our glossary and shooting tips! »
Glossary
Depth of Field: Depth of field is the distance between the nearest and furthest image in a scene that are in focus. In other words, you know that crisp foreground, blurred background that bloggers often use for close-ups? That contrast in sharpness is called a shallow depth of field since only the foreground is in focus.
Aperture: Aperture (which is controlled by changing the f-stop on most cameras) is gauged by how big the opening of the lens is. The trick to remembering how to use f-stop is that the smaller the number, the larger the opening. A large opening achieves that shallow depth of field we mentioned above, a staple in many street style pics.
Shutter Speed: Shutter speed is basically the length of time the camera’s shutter stays open. Along with aperture, it affects how much light will enter the lens. If you’re in manual setting and shooting street style, shutter speed will probably be the tool you’ll most often adjust depending on lighting. If you’re out on a sunny day, you can crank your shutter speed up (meaning the shutter can open and close more quickly since there’s already an abundance of light). If you’re in a low light setting, you’ll need to let more light enter in order to get a well-lit picture, so you’ll have to lower your shutter speed down.
ISO: ISO measure the sensitivity of the image sensor to light. Usually, you can keep your ISO around the 100-400 range for daylight images (which also results in less image grain), but if you’re in a particularly dark setting, you might need to up your ISO – the downside of high ISO though is a “noisy” image, or a heavy grain.
White Balance: White balance effectively compensates for unnatural colour casts (think the washed out, blue-tones that fluorescent lights emit) in order to give the image a more natural looking colour balance. If you’re shooting in natural light, you’ll most likely be going back and forth between sun and cloud settings – if you’re at a real loss, Auto White Balance tends to be fairly accurate!
Now that you’ve got those definitions under your belt, move on to FASHION photo editor Nicole Stafford’s six pointers!

Know your camera
Take the time to read the manual! When you are buying a camera, have the retailer show you all the new options and how to work the camera to your advantage. It is best to have your camera set to manual so you can control to best suit your shooting situation, the F-stop, aperture and ISO.
Get low
Stand a good 15 feet away from the subject and kneel and adjust your height so the subject is in perfect perspective, if you are shooting too close and high then the subject can get distorted and is often unflattering and unprofessional looking.
Try different exposures
When you have the time and the subject in front of you, take the time to do at least three shots to ensure you have them in focus and the correct exposure.

Shoot early or late in the day
Generally, the best results for shooting are earlier in the day or later in the day, often mid day when the sun is high in the sky can make harsh shadows on faces and details with the shadows very dark and highlights blown out and too bright.
Learn how to use white balance
Most digital cameras have the option to white balance for the lighting situation so based on whether it’s a overcast day or bright sunny day, white balance your camera before you start shooting as it will have a great effect on your colours and tone to your shots.
Get snap-happy
Shoot lots and shoot often – the more you shoot, the more comfortable and familiar you will get with your camera and its settings that it will come second nature.


