Texture Talk: How to Repair Heat and Colour Damage
Welcome to Texture Talk, a column that celebrates and deep dives into the dynamic world of curly hair, from crowns of curls that are free flowing to strands that are tucked away in a protective style.
Heat and colour damage is hard to repair, plain and simple, and, to be honest, it can be one of the most discouraging parts of your natural curly hair care journey, especially when it’s due to methods you’ve used with the intention of actually elevating your style. However, there is hope at the end of this frizzy, split-end tunnel. With a little effort and the right mix of ingredients and methods, your hair can easily (read: with patience) return to its former glory.
If you’re wondering how tools and chemicals designed for hair actually create this damage in the first place, you’re not alone. The short answer is major damage to your hair’s cuticle. Both straightening and dyeing your hair lifts the hair’s cuticle and opens your hair up to further damage. Anything you do from this point on is to repair the outer cuticle of your hair in an attempt to bring back that healthy appearance. We spoke to Toronto-based hairstylist Sally John to get some of her top tips to repair damage and restore volume, moisture and shine to your curly hair.
View this post on Instagram
Establish a realistic routine
No matter what your hair goals are, having an established routine will help you get there. John recommends going for regular trims and talking with your stylist to assess your goals. Have them evaluate your hair, assess the damage and recommend specific products to add to your routine, including a shampoo and conditioner that will help ease your ravaged hair. If you’re trying to repair curly hair damage due to colour-processing, use a colour-safe shampoo to help minimize touch-ups (and further damage). A root touch-up spray can also help you cover up pesky greys or roots in between appointments to minimize your hair’s exposure to dye.
View this post on Instagram
Rebuild broken bonds
John reminds us that one of the tell-tale signs of damaged, textured hair is when it gets knotted at the drop of a hat. “If your hair is tangling, it’s probably because you have split ends,” she says. This is particularly true for tighter textures. John advises to keep an eye out for single strand knots, especially during the detangling process. To battle tattered ends, it’s important to establish and maintain a deep conditioning routine. Look for a concentrated treatment which will help to strengthen and repair bonds overtime.
Try a hot oil treatment
One of the first signs of damaged hair is a noticeable loss of moisture. High protein oils like coconut oil and castor oil are well known for their ability to deeply penetrate the hair shaft as well as restore moisture and shine to hair that has lost its lustre. When applying this type of treatment, it’s best to start at your scalp and work your way down, so your roots can get some much-needed TLC. Mix your favourite oils in an applicator bottle and then place the bottle in hot water to heat up (do not microwave!). Once you’ve applied the oils to your scalp (always test for temperature safety first) cover your hair with a shower cap and let the treatment work its magic for 30 minutes. Rinse, condition and wait for your glorious shine to be restored. Repeat once a week, as needed.

Limit styling and protect your hair overnight
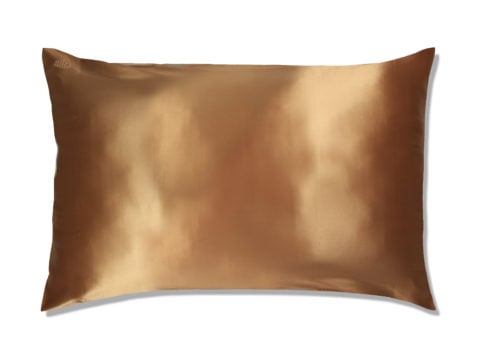
Protecting your hair while you sleep can go a long way. If you’re using a standard cotton pillowcase, the friction from your head moving alone can contribute to waking up with frizz and split ends. Instead, wrap your hair with a silk scarf or use a silk pillowcase, which will help to minimize stress on your strands. Anytime you attempt to style your hair, there is the chance of causing further damage. John recommends putting your hair into a protective style such as braids or a weave, to limit how much you manipulate your hair on a daily basis. “Sew-ins are great because you can play with colour and length without having to commit. Wigs can also be a good alternative, but look for a style that can be installed without glue, which can be damaging in its own right,” she says. You should also be weary of having a protective style installed with too much tension, which can also be the cause of thinning and hair loss, especially around your hairline. “If you feel like your weave or extensions have been installed too tightly, tell your stylist before you leave their chair,” says John. A few weeks with a too-tight install can take months, or even years, to repair. To help repair thinning edges, ensuring they are constantly moisturized is the best method to encourage growth. Use a leave-in cream daily and implement a repairing hair mask multiple times a week. “Applying castor oil along your edges before bed is your best friend,” adds John.


