Bouffant hair tutorial: How to add some Lana Del Rey-approved volume to your look
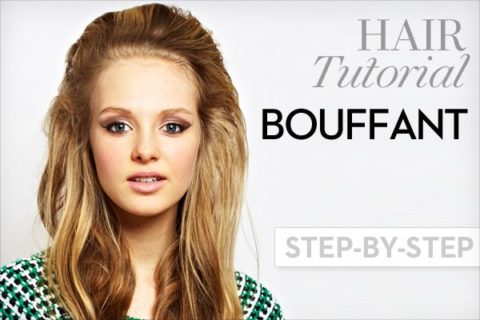
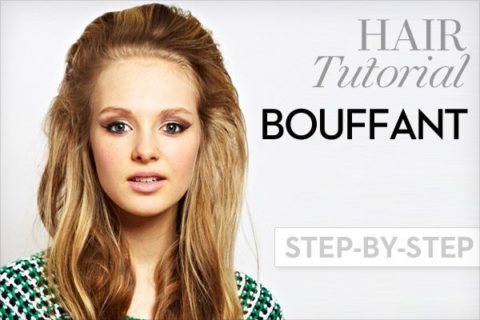
Alright kids, this hair tutorial is a fun one. Considering that she’s the cover of our Summer issue, it only made sense to take inspiration from Lana Del Rey for a hair tutorial. While she’s often spotted styling her hair in loose waves or a deep side part (both of which we just happen to have tutorials for as well: waves here, side-part here) Lana Del Rey’s fondness for the ’50s and ’60s mean she’s sported a bouffant more than once. The video for “National Anthem” is all about the Lana Del Rey bouffant and she wore her hair up for much of her summer festival tour in 2012.
While the thought of attempting to add a few inches of volume to your hair may seem overwhelming, the bouffant is easier to master than you may think. If you can tease your hair, you can do a bouffant. This bouffant hair tutorial was created in conjunction with Toronto-based hairstylist Margot Keith, who knows a thing or two about adding impressive amounts of volume to even the sleekest heads of hair. She’s also made learning how to do a bouffant totally foolproof. Read on for our complete step-by-step hair tutorial.

How to do a bouffant:
1. Because the bouffant is all about volume, give your hair some help by setting it with hot rollers. (Bonus: It helps put you in the ’50s mood!) If you don’t have hot rollers, curling your hair with a large barrel iron also works—just make sure to use a curling iron that’s 1.5” or larger.
2. Section off all the hair that sits at the crown of your head and begin to tease with a natural bristle teasing brush. It may seem overwhelming at first, but if you work through the section piece by piece, a very mailable “pile” of hair will start to form. Once you have enough volume, pull this section back and secure it loosely with an elastic ponytail holder. This hair is the “stuffing” for your bouffant.
3. Now take the hair that frames your face and brush it back, overtop the pouf of teased hair. Use the teasing brush to smooth this hair as you go—the idea is that the un-teased hair should cover over the “stuffing” and hide any bumps or tangles. Secure this hair to the first ponytail you created, using another elastic.
4. Balance out your bouffant by lightly teasing any hair around the pouf. Once it looks like everything is in the right place, spray on a healthy amount of your favourite hairspray—and you’re ready to go!
Model wears top, $49 by Joe Fresh

