How to Photoshop like a pro: 7 tips we learned from in-house experts
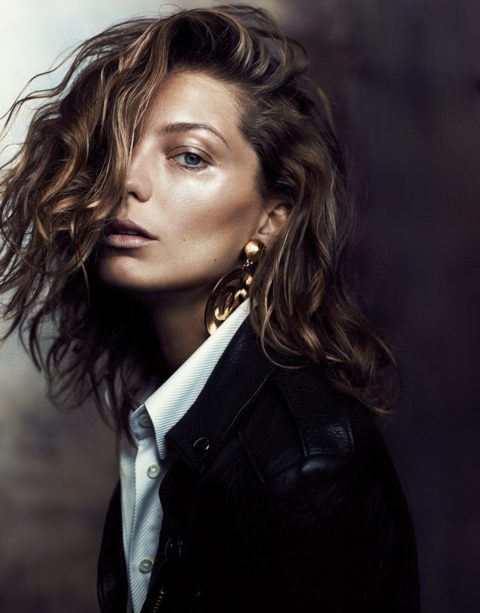
Photoshop. We all have opinions on the photo-editing tool, or any of the other user-friendly apps out there like Facetune and Pixtr, whether we’re for or against it. And although the message it puts forth may be taken in a negative manner—that tweaks must be made to our pics in order for them to be share-worthy—there’s something quite gratifying about simply boosting the colour intensity on a drab image, or fading out a blemish to achieve a flawless complexion. So yes, bless Photoshop (spoiler alert: we use it on almost every image that appears in our print magazine). And if we’re being honest, no photo-editing app renders results that come even close to what you can achieve with the tried-and-true program. After all, it is what the pros use.
However, we understand that navigating the program (especially for first-timers) can be a tad bit overwhelming. What do all of those little icons and drop-down menus mean?! Is this even in English?! We feel you. That’s why we tapped our in-house photo editor Erin Reynolds (she moonlights as an OCADU instructor in the Continuing Education department) to answer some of the FAQs she receives in her Intro to Photoshop course. So, before you take to raising your white flag and hiring a personal photo editor to fix your pics, scroll through this quick primer for seven of the handiest Photoshop tips to master now. From figuring out WTF the liquify tool is to quick fixes for minor imperfections, we got you covered.
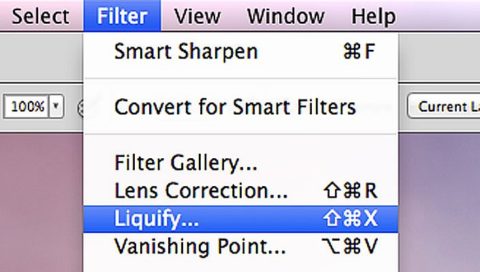
This is the mother-of-all Photoshop tools that changed the fashion industry. This tool allows the user to ‘nudge’ (the icon that looks like a finger poking flesh) in the perimeter of the body, essentially giving the illusion of a smaller (or larger) frame. The liquify tool also allows for fun extras like the ‘bloat’ and ‘pucker’ tools, which work great on a dreaded food baby or when you want your lips to look a little more plump, à la the Kardashians.
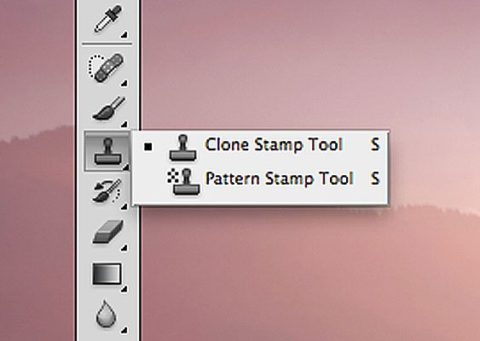
This tool looks like a rubber stamp and can be used in a few different ways. Use it to soften lines on faces without removing actual texture or to replicate patterns and retouch pesky issues on a photo that has multiple tones.
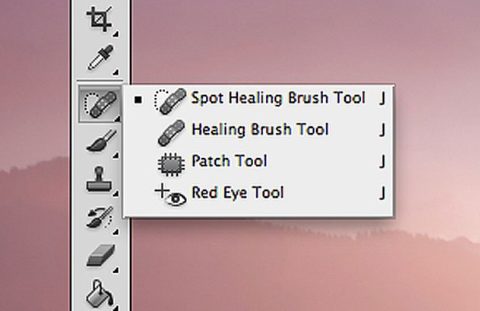
This tool looks like a cute floppy Band-Aid and is one of those wonder tools like liquify. It essentially attempts to ‘heal’ over an imperfection by selecting a source area you would like to cover it up with. If only this existed IRL. Sigh.
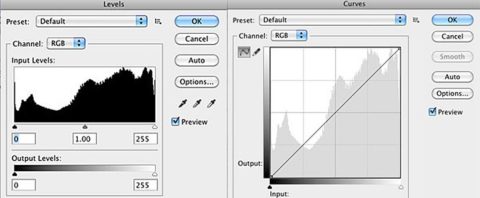
These tools are great for lightening or darkening an image (or a selection). You can easily add contrast and a bit of punch to an image with a few simple clicks. While levels is for making slight adjustments on the histogram via moving the markers, curves uses an X and Y axis that allows tweaks on both light and contrast simultaneously.
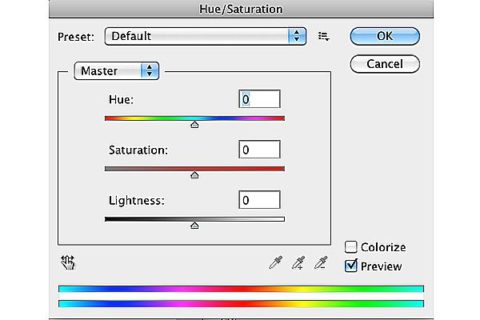
This tool is great for isolating and manipulating a specific tone within an image. You can also de-saturate a less-than-satisfactory tone that ruins a photo. Though hue/saturation is essentially the same tool, hue deals with the colour change, while saturation changing the intensity of the colour.
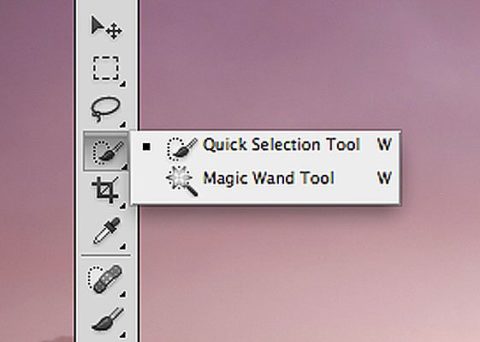
When it comes to selections, there is a multitude of options like (i.e. quick mask, lassos, magic wand, quick selection—the list goes on). Basically, selections allow you to isolate a part of an image by either drawing around it, clicking on it or masking it out to work on that area without affecting the rest of the image.
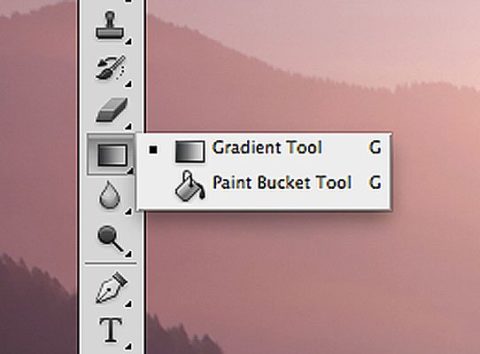
This tool essentially allows you to ‘draw in’ light or shadow, creating a more realistic look. You can also use this to create more drama in a sky, by using the neutral density gradient. Think of it as if you were to put on a pair of nice sunglasses. Don’t be afraid to try out other wacky gradients (clown colours anyone?) and different start points like linear, radial, diamond and angle.

