The 7 Most Common Self-Tanner Mistakes to Avoid this Summer

Trying a self-tanner at home can be intimidating, to say the least. But if you’re coveting that back-from-the-South-of-France afterglow without the sun damage, a self-tanner is your safest bet. As any faux tan devotee knows, proper application is key when it comes to avoiding telltale signs of an at-home tan (you know the ones: orange palms and unsightly streaks). Whether you’re a pasty girl looking to achieve a deep shade of bronze or you’re just seeking a subtle glow, we’ve got a few pointers from St. Tropez’s Skin Finishing Expert, Sophie Evans, who gave us a rundown on how to achieve an immaculate faux tan at home.
Exfoliate
“The tan is only as good as the skin you’re working on,” says Evans. “If you’re putting self-tanner on skin with last week’s products on it, or on to flaky skin, it’s not going to look its best.” Try dry brushing the skin before hitting the shower and use a body scrub to slough off any dead skin for an ultra-smooth base for your self-tanner.
Waxing? Do it a day prior
If you’re opting to wax any areas beforehand, be sure to do it at least 24 hours prior to applying you tan. The reason? “If you’ve freshly waxed, what will happen is that the product will sit in the open hair pores, and you’ll get a more pitted look. But with shaving, everybody’s different. If you’ve got really fair fine hair, you can shave and then put the tan on without a problem.”
Moisturize only tricky areas
“Never moisturize your entire body before applying the product,” advises Evans. “But areas like the elbows, knees, back of the heel and back of the wrist can often develop a few shades darker than the rest of the body, so moisturize those areas to act as a barrier before application.”
Protect your palms
To avoid staining your palms and nails, slip on a tanning mitt to apply the product. But don’t stop at your wrists and ankles- be sure to blend the product down! “Use the tanning mitt to buff the product gently on to the tops of hands, feet and in between fingers. Then, take a makeup wipe and use it on your nails and palms just to be on the safe side.”
Less isn’t more
When it comes to self-tanning, don’t skimp out on the amount of product you’re using. “Lack of product causes streaks. Applying only a small amount won’t cover all areas properly,” explains Evans. “When applying, use a flat hand and a light stroke to smooth on a generous amount of product.”
Missed a spot?
If you’ve washed off your tan after it has developed, only to discover a few uneven patches of skin, don’t panic. For any areas that you’ve missed, Evans recommends exfoliating first, then re-applying a tiny amount of self-tanner on the missed spots only. For patches that appear darker than the rest of your body, try Evans’ quick tip: apply a hair removal cream to the darker areas and let it sit for half of the recommended time before washing off.
Maintain your glow
The application part might be over, but maintenance is an important part of making your tan last. Evans recommends touching up with a gradual self-tanning lotion every three to four days (or immediately after working up a sweat at the gym or after a swim) to optimize your faux tan.
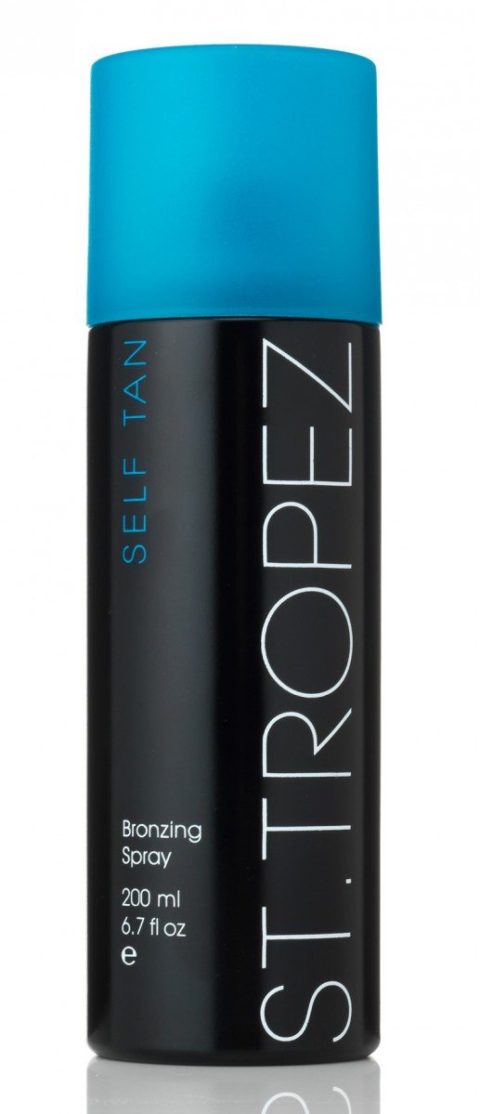
St. Tropez Self Tan Dark Bronzing Spray ($50, sephora.com)
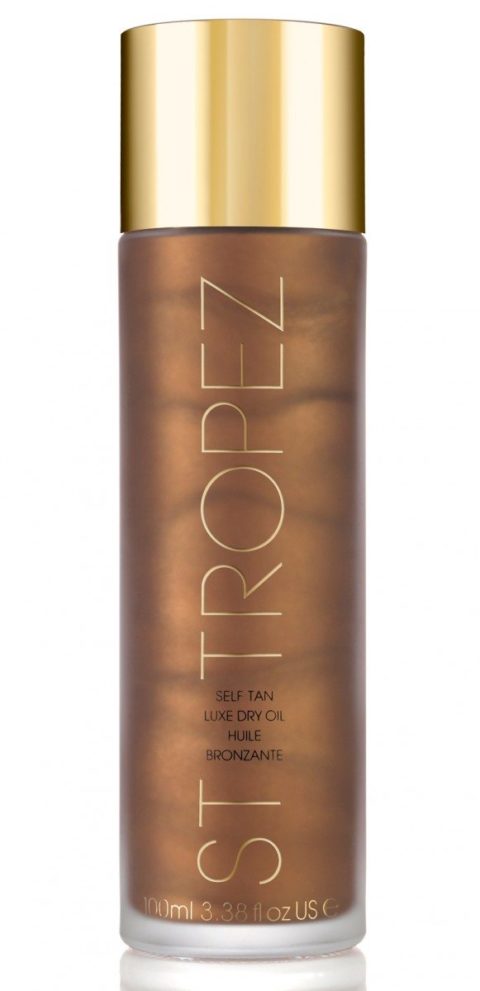
St. Tropez Self Tan Luxe Dry Oil ($60, sephora.com)
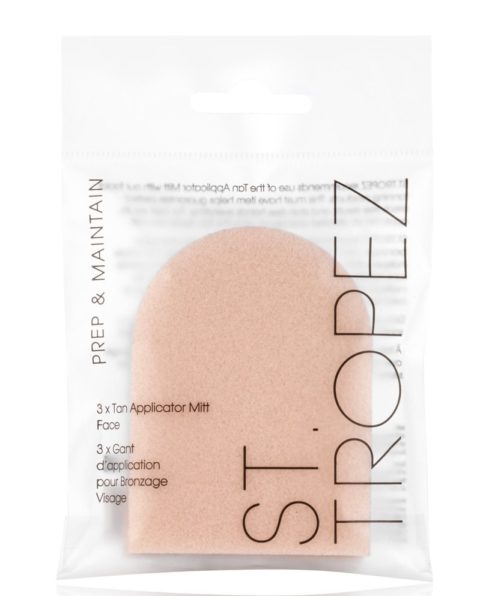
St. Tropez Buffing Mitt ($8, sephora.com)
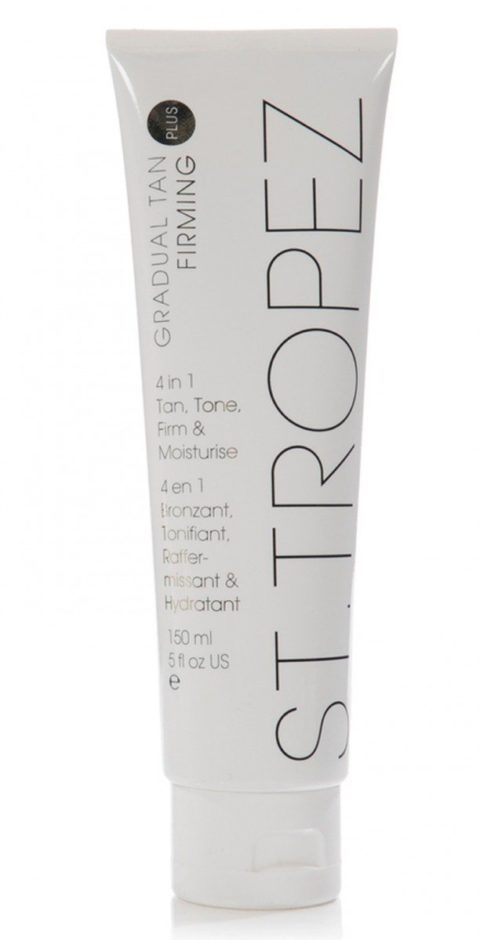
St. Tropez Gradual Tanning Plus Firming 4-in-1 Moisturizer ($50, sephora.com)


. Whether you’re a pasty girl looking to achieve a deep shade of bronze or you’re just seeking a subtle glow, we’ve got a few pointers from St. Tropez’s Skin Finishing Expert, Sophie Evans, who gave us a rundown on how to achieve an immaculate faux tan at home.
Exfoliate
“The tan is only as good as the skin you’re working on,” says Evans. “If you’re putting self-tanner on skin with last week’s products on it, or on to flaky skin, it’s not going to look its best.” Try dry brushing the skin before hitting the shower and use a body scrub to slough off any dead skin for an ultra-smooth base for your self-tanner.
Waxing? Do it a day prior
If you’re opting to wax any areas beforehand, be sure to do it at least 24 hours prior to applying you tan. The reason? “If you’ve freshly waxed, what will happen is that the product will sit in the open hair pores, and you’ll get a more pitted look. But with shaving, everybody’s different. If you’ve got really fair fine hair, you can shave and then put the tan on without a problem.”
Moisturize only tricky areas
“Never moisturize your entire body before applying the product,” advises Evans. “But areas like the elbows, knees, back of the heel and back of the wrist can often develop a few shades darker than the rest of the body, so moisturize those areas to act as a barrier before application.”
Protect your palms
To avoid staining your palms and nails, slip on a tanning mitt to apply the product. But don’t stop at your wrists and ankles- be sure to blend the product down! “Use the tanning mitt to buff the product gently on to the tops of hands, feet and in between fingers. Then, take a makeup wipe and use it on your nails and palms just to be on the safe side.”
Less isn’t more
When it comes to self-tanning, don’t skimp out on the amount of product you’re using. “Lack of product causes streaks. Applying only a small amount won’t cover all areas properly,” explains Evans. “When applying, use a flat hand and a light stroke to smooth on a generous amount of product.”
Missed a spot?
If you’ve washed off your tan after it has developed, only to discover a few uneven patches of skin, don’t panic. For any areas that you’ve missed, Evans recommends exfoliating first, then re-applying a tiny amount of self-tanner on the missed spots only. For patches that appear darker than the rest of your body, try Evans’ quick tip: apply a hair removal cream to the darker areas and let it sit for half of the recommended time before washing off.
Maintain your glow
The application part might be over, but maintenance is an important part of making your tan last. Evans recommends touching up with a gradual self-tanning lotion every three to four days (or immediately after working up a sweat at the gym or after a swim) to optimize your faux tan.
[gallery columns="5" ids="186079,186080,186081,186089"])