Valentine’s Day makeup tutorial: 3 creative new ways to wear blush


It seems like Valentine’s Day beauty always focuses on the same things. “Make your lashes beguiling and fluttery.” Check. “Make your lips seductive and pouty, and definitely pink or red.” Okay, check. “Wear an alluring and floral perfume to feel extra-romantic.” Check and done.
But the way I look at, we should really be focusing more on the cheeks. After all, when we’re in love (or simply just crushing), our cheeks always give us away. Flushed and naturally rouged, the world can tell we’re feeling dreamy — or frisky. That’s why I suggest eschewing traditional V-Day beauty trends in favour of mixing up the way you apply your blush this Valentine’s Day for a makeup look that tells the world how you really feel. If you’re taken, try the heart stencil look for something cutesy and fun. Single? Sparkle and shine with the glorious shimmering glitter ombre look. However you’ll be feeling this February 14th (and no matter who you’re with), you deserve to take on the holiday with a healthy flush. Go forth and blush!

This cut-out look is playful and sweet. If you’re not the most romantic person, you can choose another sticker-shape, like a star, instead.
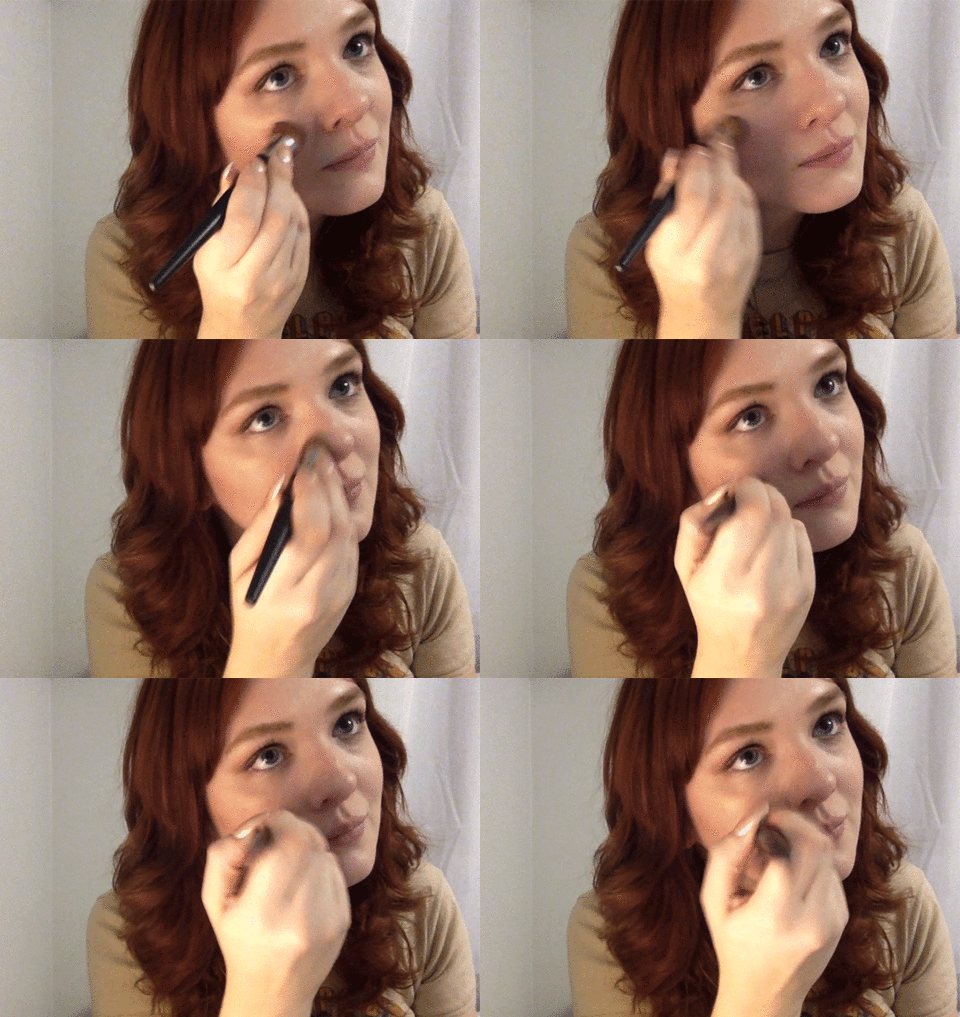
Prep skin with a BB cream for a clean base.

Apply a small heart-shaped sticker (try a craft store) just below the outer edge of the eye on top of the cheekbone.

Use a blush brush to apply a medium-toned pink powder blush over the sticker.

Peel off sticker to reveal cut-out heart shape. Use a makeup setting spray like M.A.C Prep + Prime Fix+ to set the look and keep the lines clean.
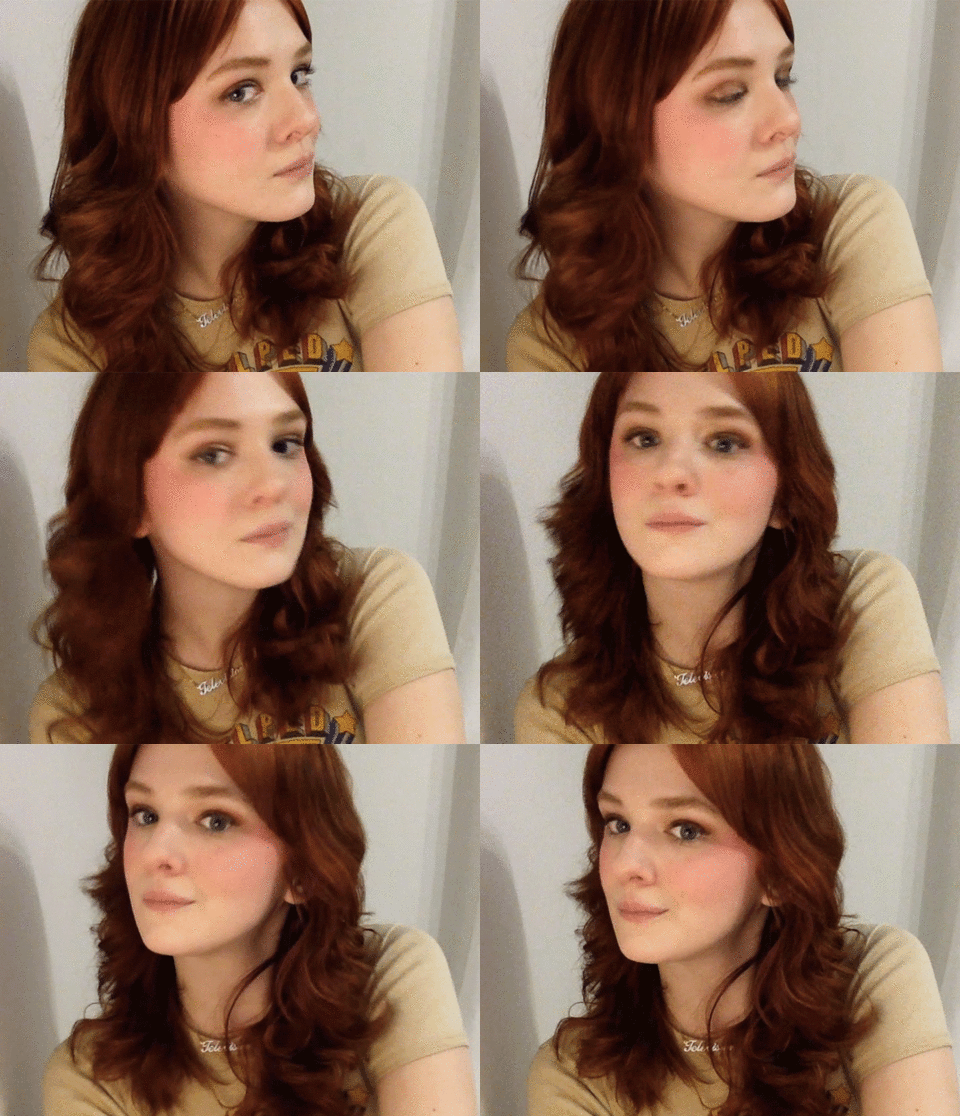
This look is a subtle take on bright blush that can work on its own for daytime or be paired with smoky eyes for a dramatically romantic look.
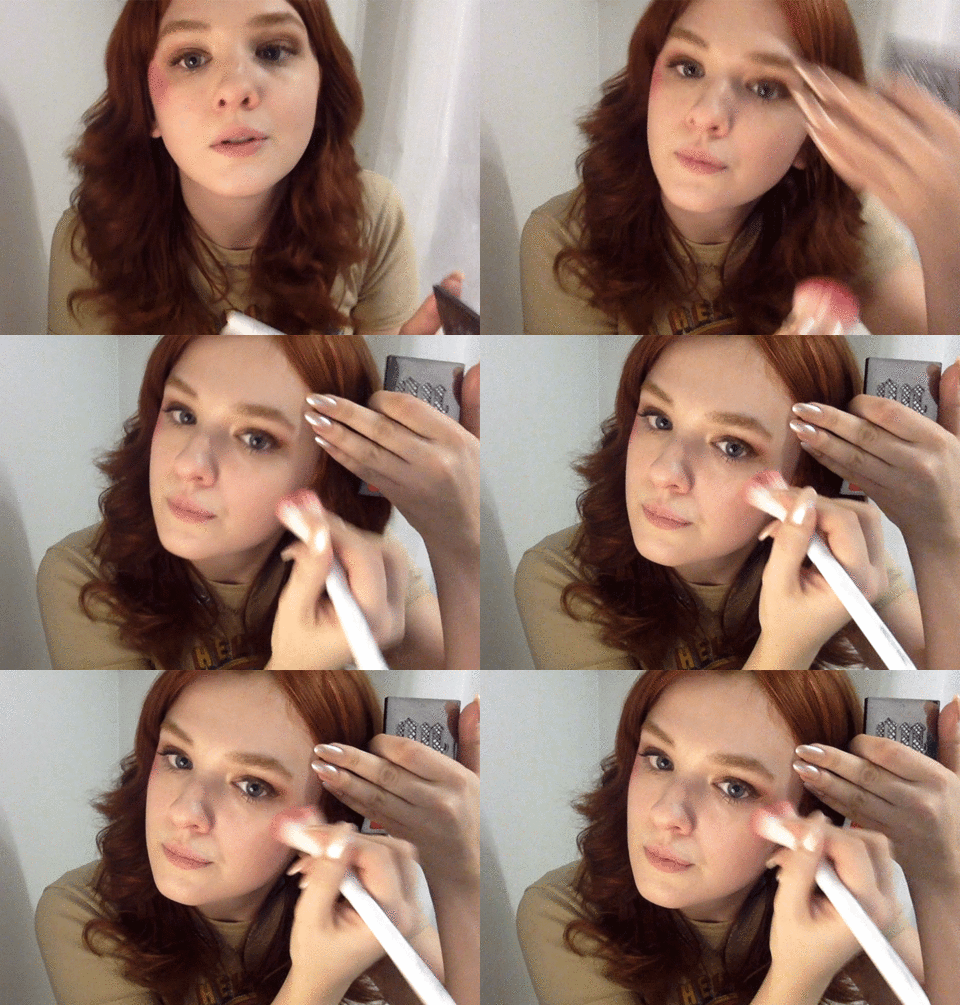
Start by using your brush to apply your deepest, bright blush (I used Urban Decay Afterglow 8-Hour Blush in “Quiver”) near the outer edge of the eye.
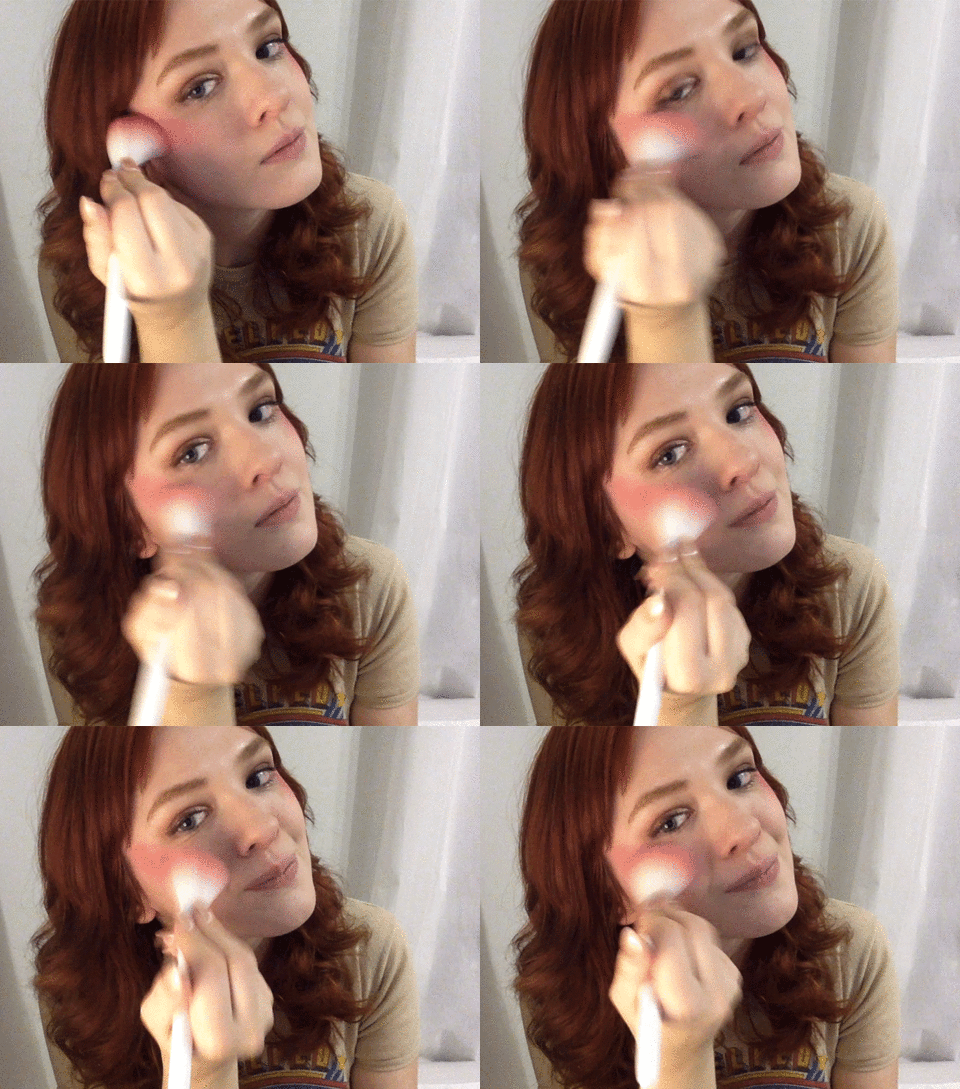
Apply a medium blush (like Nars Blush in “Orgasm”) to the edges of the darker blush and sweep down along the cheekbone towards the apples.
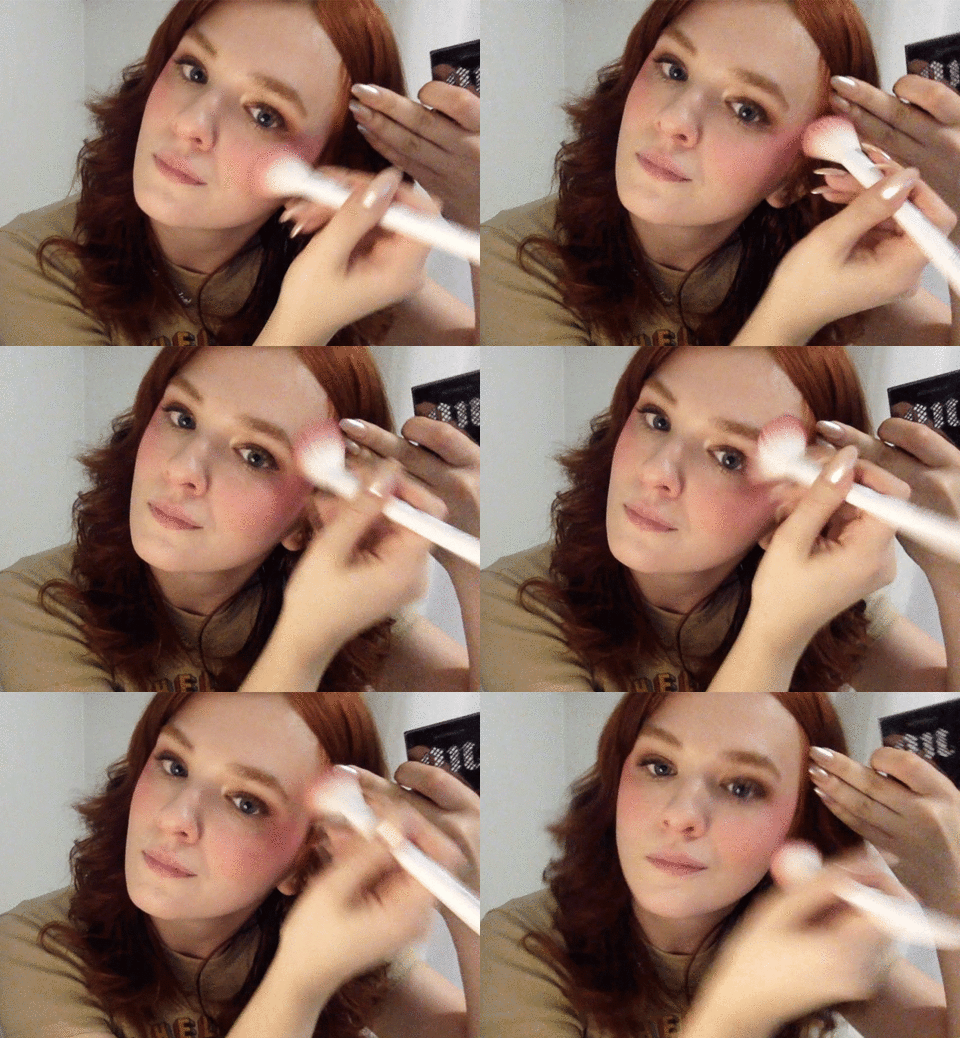
Soften up the overall look by apply a soft, light blush (I used Urban Decay Afterglow 8-Hour Blush in “Indecent”) directly on the apples and up towards the temples, blending and softening any harsh lines.

Let the blush do the talking and everyone will know how you feel.
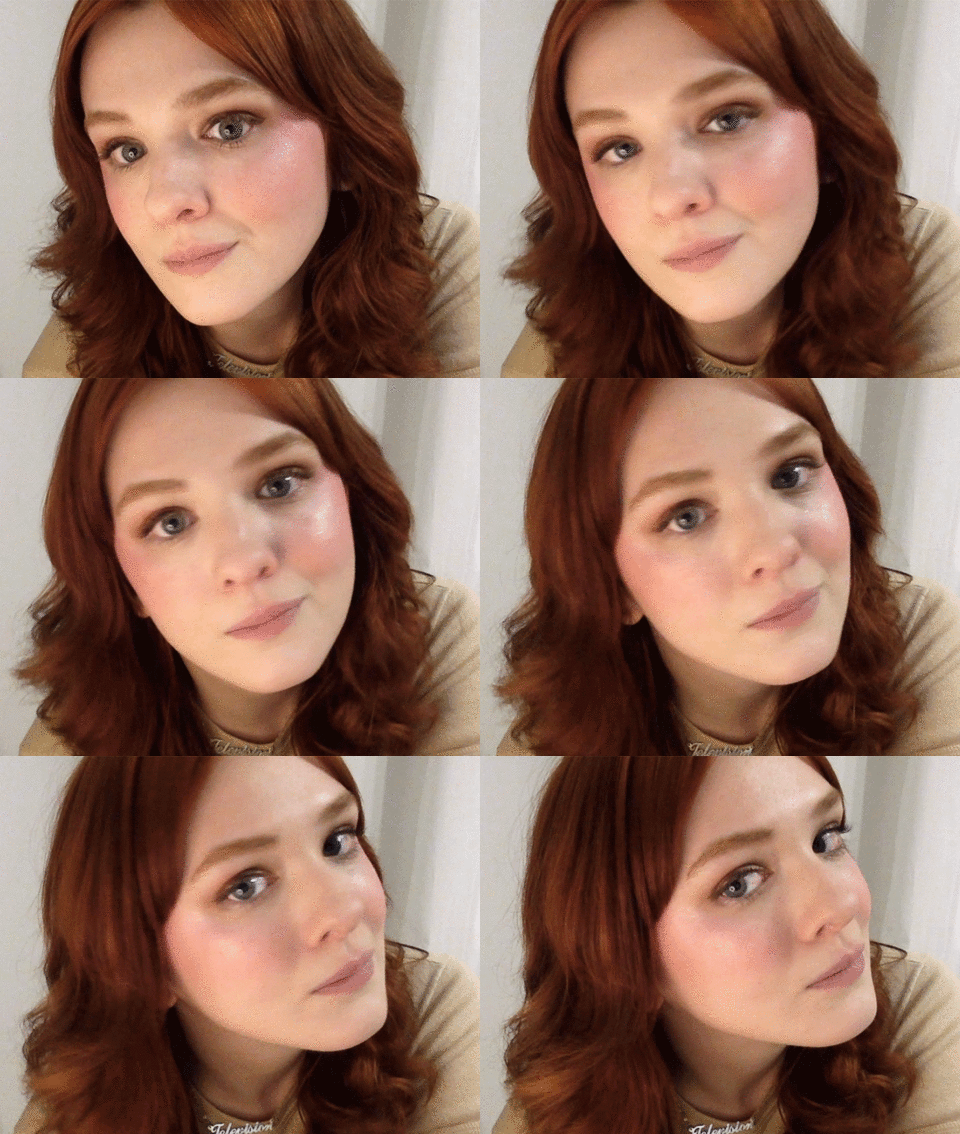
Everyone says to reserve glitter for holiday parties, but as far as I’m concerned, Valentine’s Day is as good a time as any to really sparkle, especially if you’re looking to catch a certain someone’s attention. This look builds on the previous look but adds more dimension with glittering highlights.
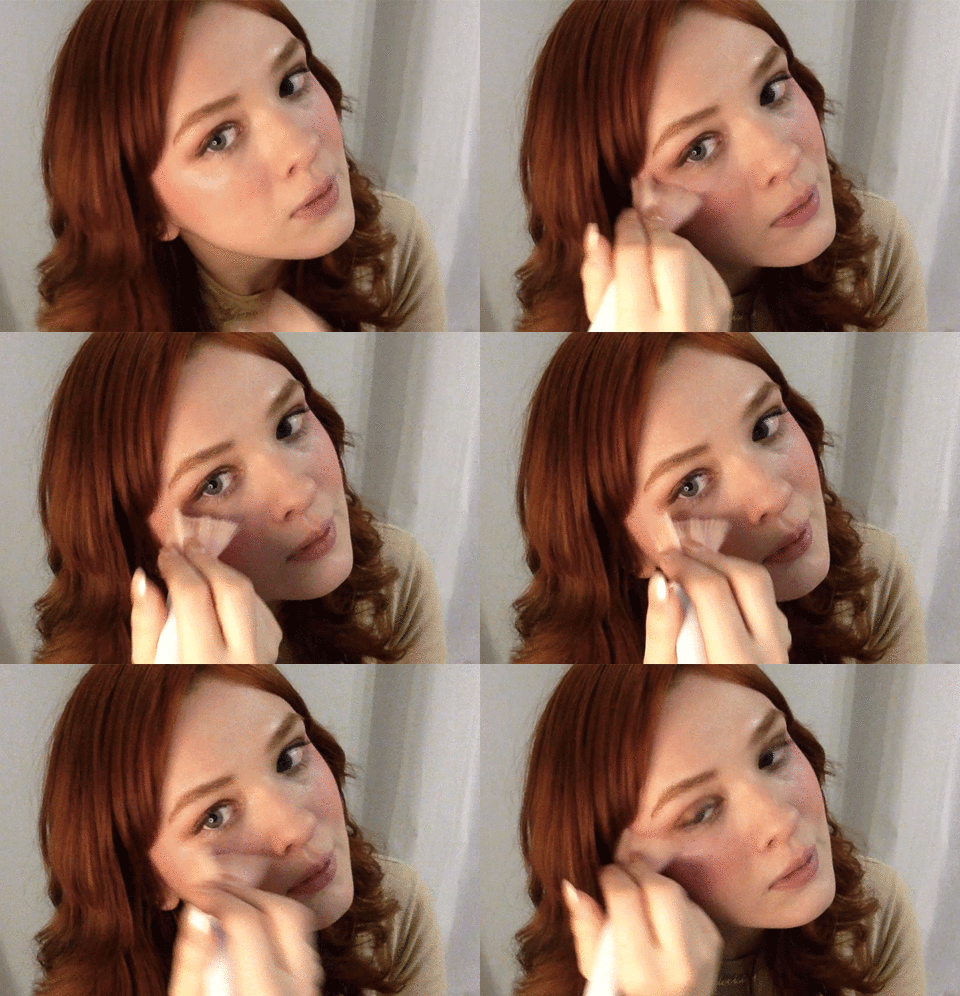
Use a small powder brush to blend a highlighting powder on to the highest part of the cheekbone. I used Vincent Longo La Bella Luce Highlighter in “Flora”.
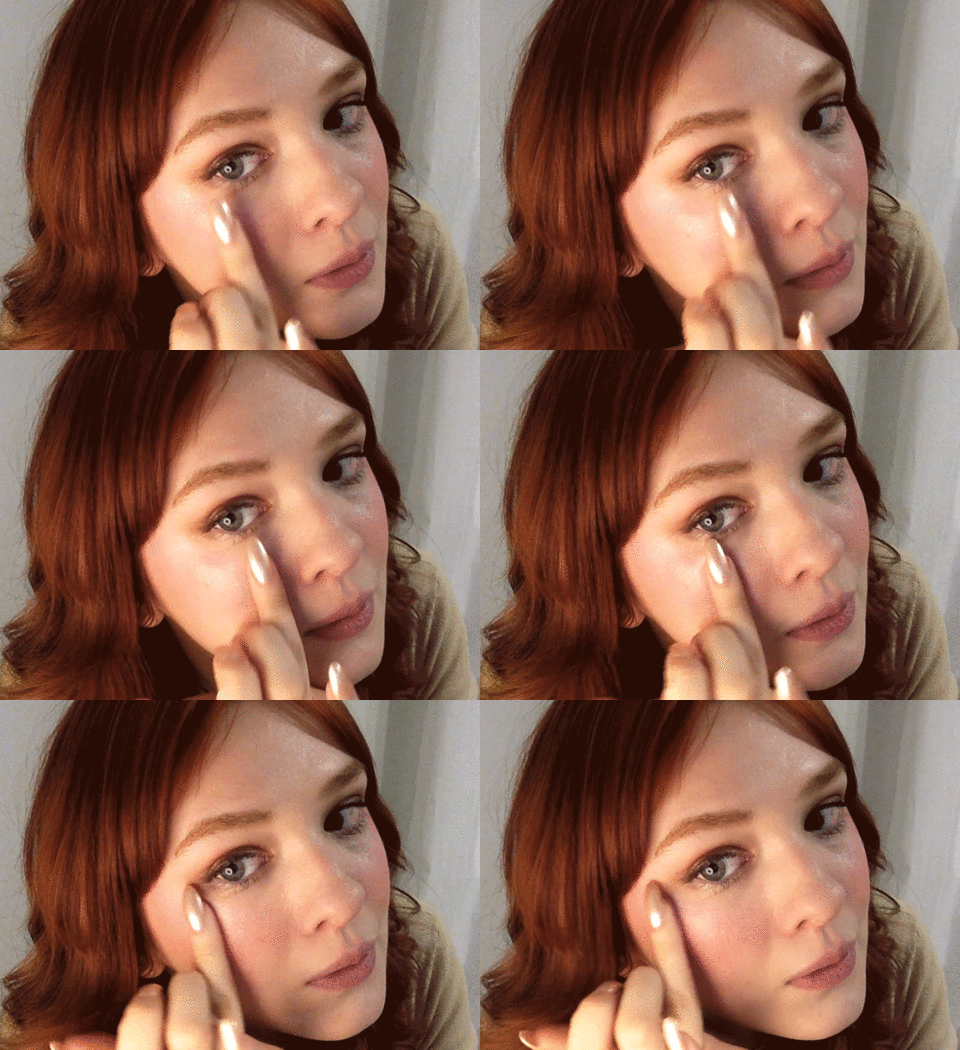
Use the pad of your ring finger to dab a glitter gel (I used Wet n Wild Color Icon Glitter Single in “Bleached”) and tap it just above the powder shimmer.

Don’t feel bad when you steal the spotlight.

