Cropped hair without commitment: Learn how to create a faux bob in 6 easy steps
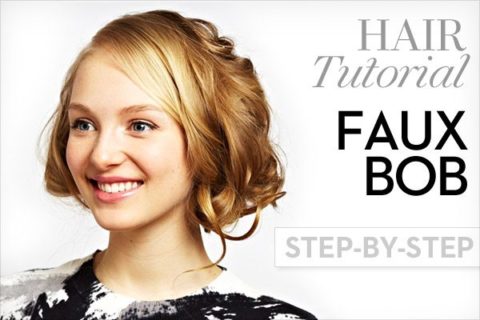
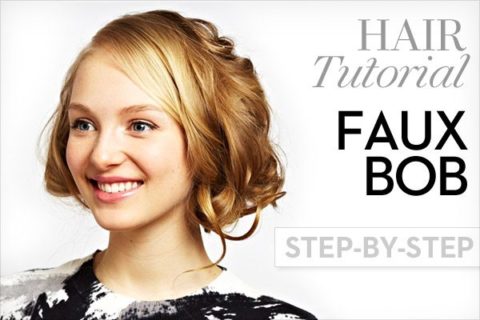
There are two reasons why the faux bob—a style that’s been a recent runway and red carpet favourite—is going to have a major moment over the next few months. First, short hair is in. The faux bob may not resemble the cropped cuts and punk-inspired hairstyles that populated Fall 2013 runways, but it does satisfy that need to change how your hair looks, without making a commitment. Second, consider the season: Spring may be off to a slow start, but once summer is in full swing you’ll want to know how to create a faux bob. Any style that keeps long strands of hair off your shoulders and back will certainly be in demand!
The faux bob is a great hairstyles to learn because it looks impressive and complicated but is actually anything but. Our step-by-step faux bob tutorial was developed in conjunction with Toronto-based hairstylist Margot Keith and takes all the confusion out of figuring out how it’s done. Like most updos, this style works best on hair that has a bit of grit in it, so save this faux bob tutorial for days when you’ve skipped the shampoo.
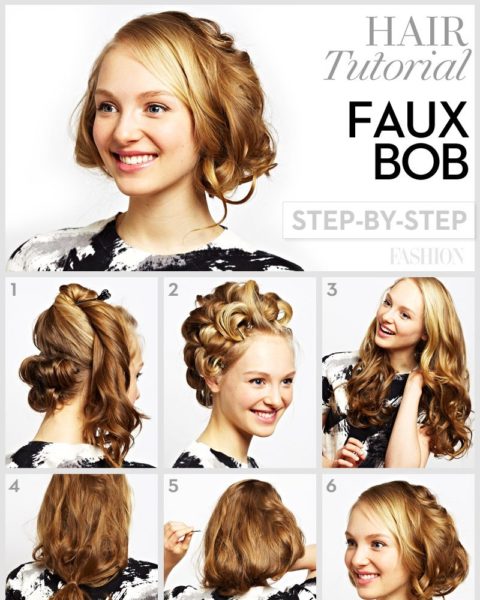
How to create a faux bob:
1. Section off your hair and start curling with a 1.5” curling iron. If your hair is very fine or very long, you’re going to want to set it with pin curls to ensure maximum volume. If you have curly hair or hair that holds a curl well, skip the pin curls and meet us at Step 3.
2. Once all your pin curls are set, spritz on some light-hold hairspray. Then let the curls cool down completely.
3. Remove all the pins and run your fingers through your hair to break apart the curls—you don’t want ringlets but you do still want to maintain some of the curl shape. Part your hair to one side, preferably where your natural part sits.
4. Gather your hair in a loose, low ponytail and secure it with a clear elastic. You want only a few inches of hair to hang out of this pony, as it’s going to be the base of your faux bob.
5. Starting with the ends of your hair, roll the ponytail onto itself, tucking under and into the nape of your neck as you go. Depending on how long your hair is, you may want to secure as you go with bobby pins. Check your progress in a mirror as you go and adjust accordingly. Because your hair was curled, the added texture will hide the roll of hair from looking too much like a bump at the back of your head.
6. Adjust any out-of-place pieces of hair (a few loose curls look best!) and finish the look with a healthy spritz of hairspray.
Model wears sweater, $39, by Joe Fresh

